How Do 7-Day Gate Timers Work?
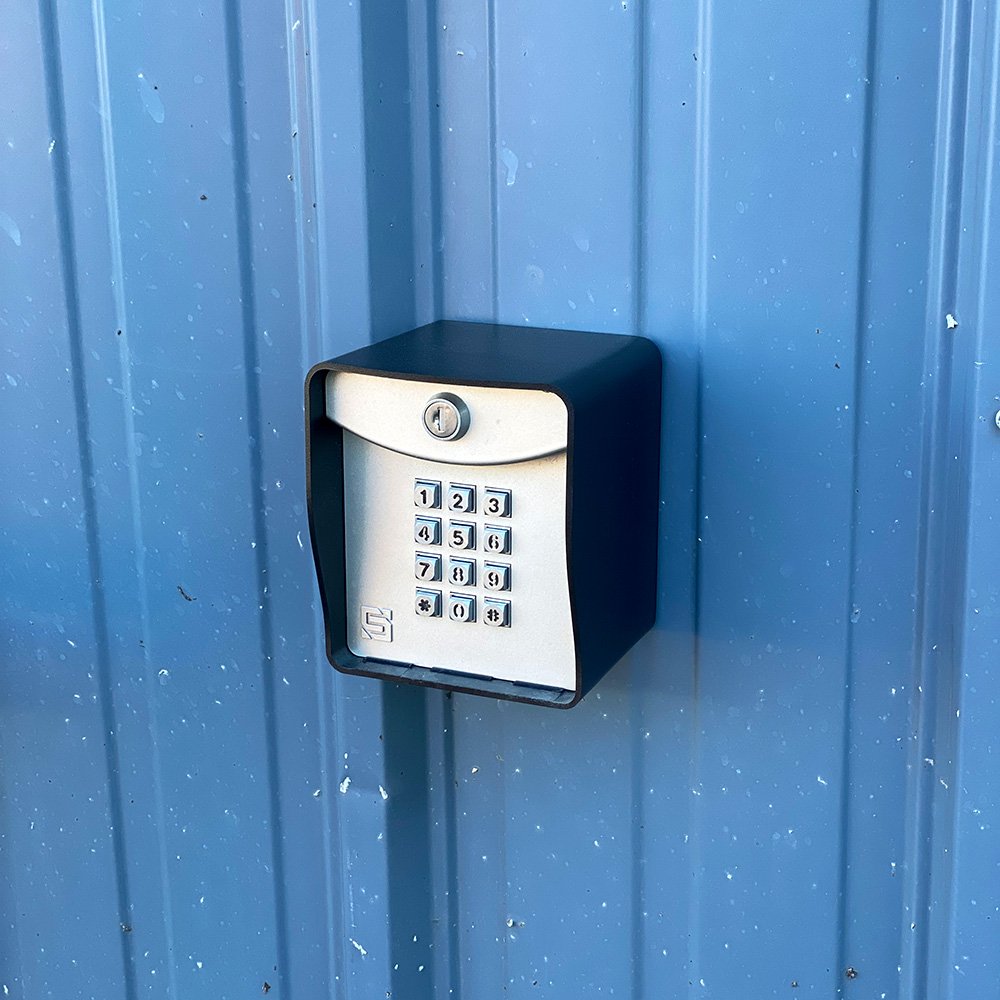
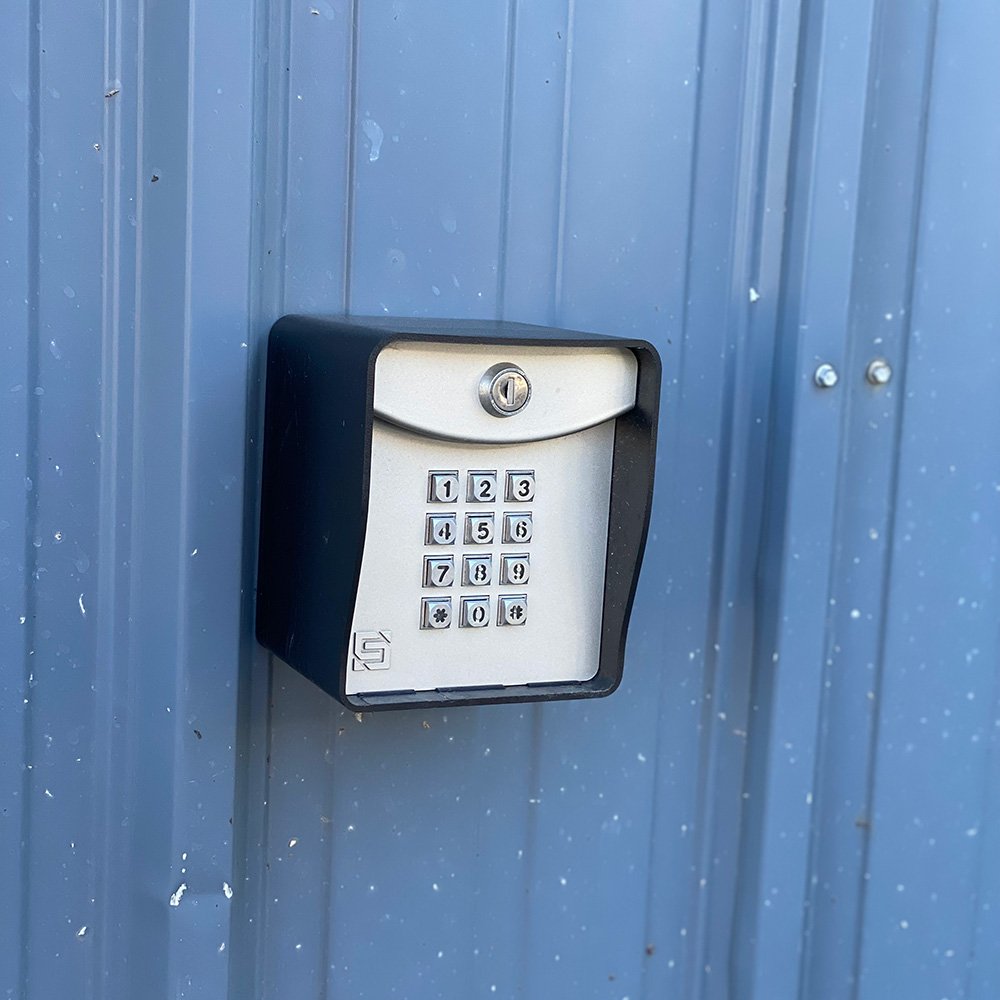
Optimize your gate opener system with a 7-day timer. Easy to connect, program, and use, Security Brands' Summit Access Control 7-Day digital quartz timers are designed for your convenience. These timers are available for various power input options and are not limited to gate opener systems. Connect to automatic gates, doors, pumps, animal feeders, and many other automated devices you want to operate on a schedule. Learn more about these 7-day timers and how to program them.
Features of Summit Access Control 7-Day Timers
- Easy to connect & program
- 7-day, 24-hour programming
- LCD screen
- LED power indicator
- 8 on/off programs
- 56 on/off settings
- Manual override
- Micro-CMOS quartz clock
- Lithium battery backup
- Durable protective cover
Specifications of Summit Access Control 7-Day Timers
*Note that specifications vary by model. Read carefully.
- 2.44" (H) x 2.44" (W) x 1.30" (D)
- Model T12: 12 VDC
- Model T24: 24 VAC/VDC
- Model T110: 110 VAC
- Power Consumption: 3 VA
- Relay Contact Rating: (DC Load/AC Load) 16 Aa at 30 V / 7 A at 24 V
- Max Switching Voltage: 150 V / 220 V
- Max Carrying Current: 16 A / 7 A
7-Day Timer Pre-Installation Information
- Before connecting and programming your 7-day timer, please take note of the voltage requirements/limits of the timer you have purchased.
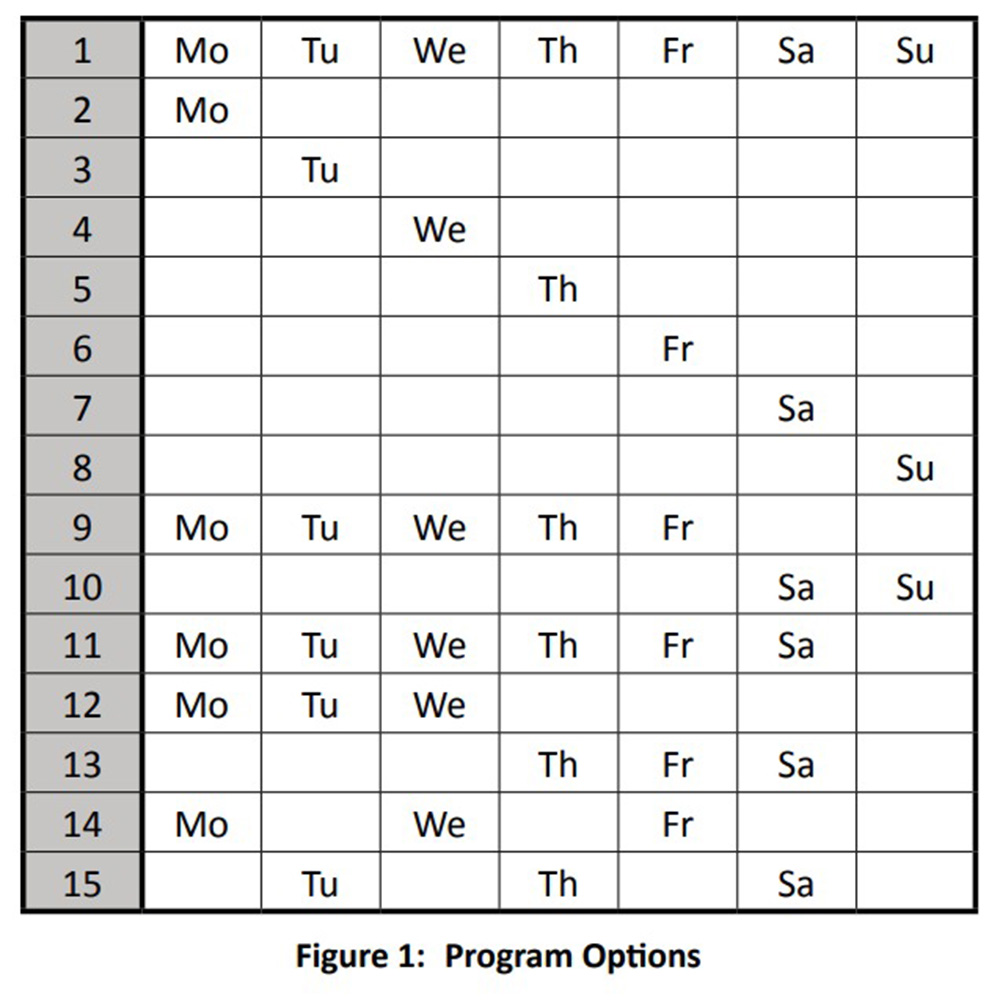
- View & Save Figure 1: Program Options (below).This table shows the various day combination options. *These options are not numbered on the timer display; rather, the number reflects the order in which the combination will appear for you to choose from.
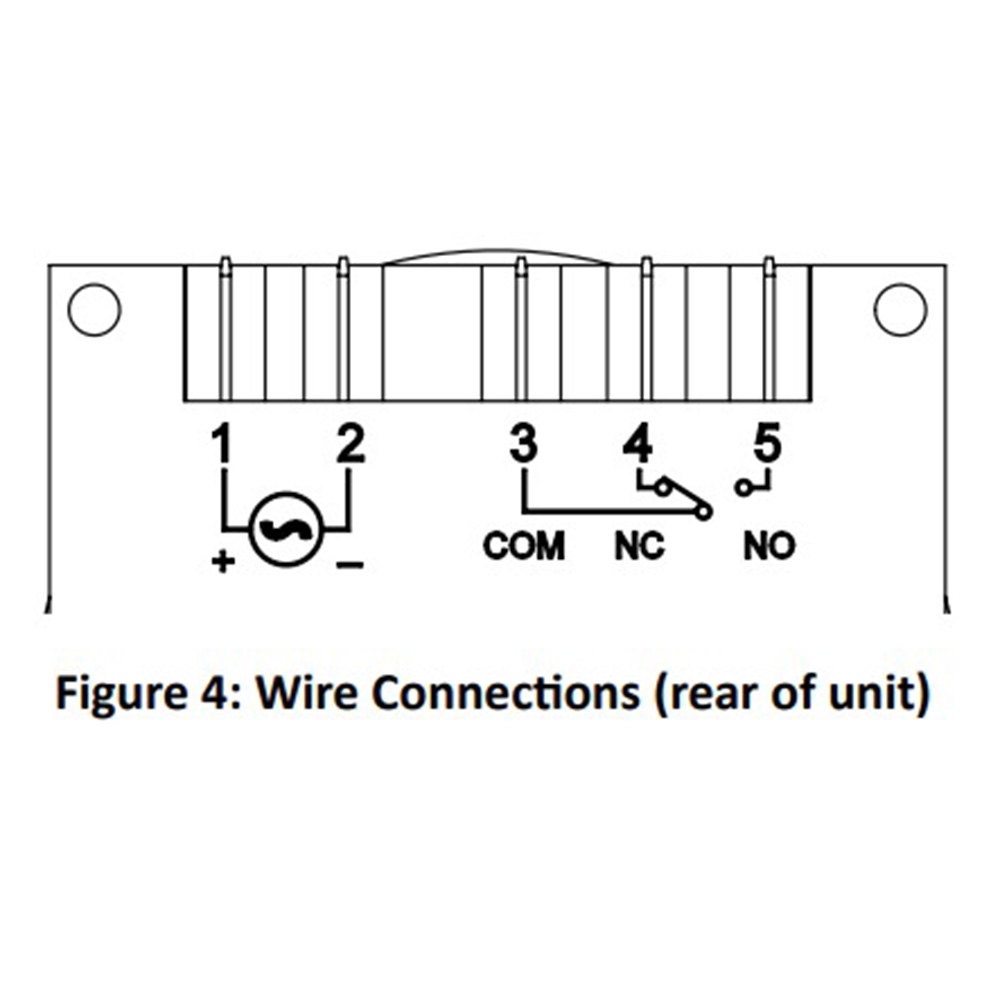
7-Day Timer Wiring
Use 1/4" female spade connectors for your wire connections. Use Figure 4 as a wiring guide and connect to corresponding relays on the main unit or device.
- 1 = Power Positive + (S-T12 = 12VDC, S-T24 = 24VDC/ AC, S-T110 = 110VAC hot)
- 2 = Power Negative - (S-T12 = 12VDC ground, S-T24 = 24VDC/AC ground, S-T110 = 110VAC neutral)
- 3 = Timer Relay COM (Common)
- 4 = Timer Relay NC (Normally Closed)
- 5 = Timer Relay NO (Normally Open)
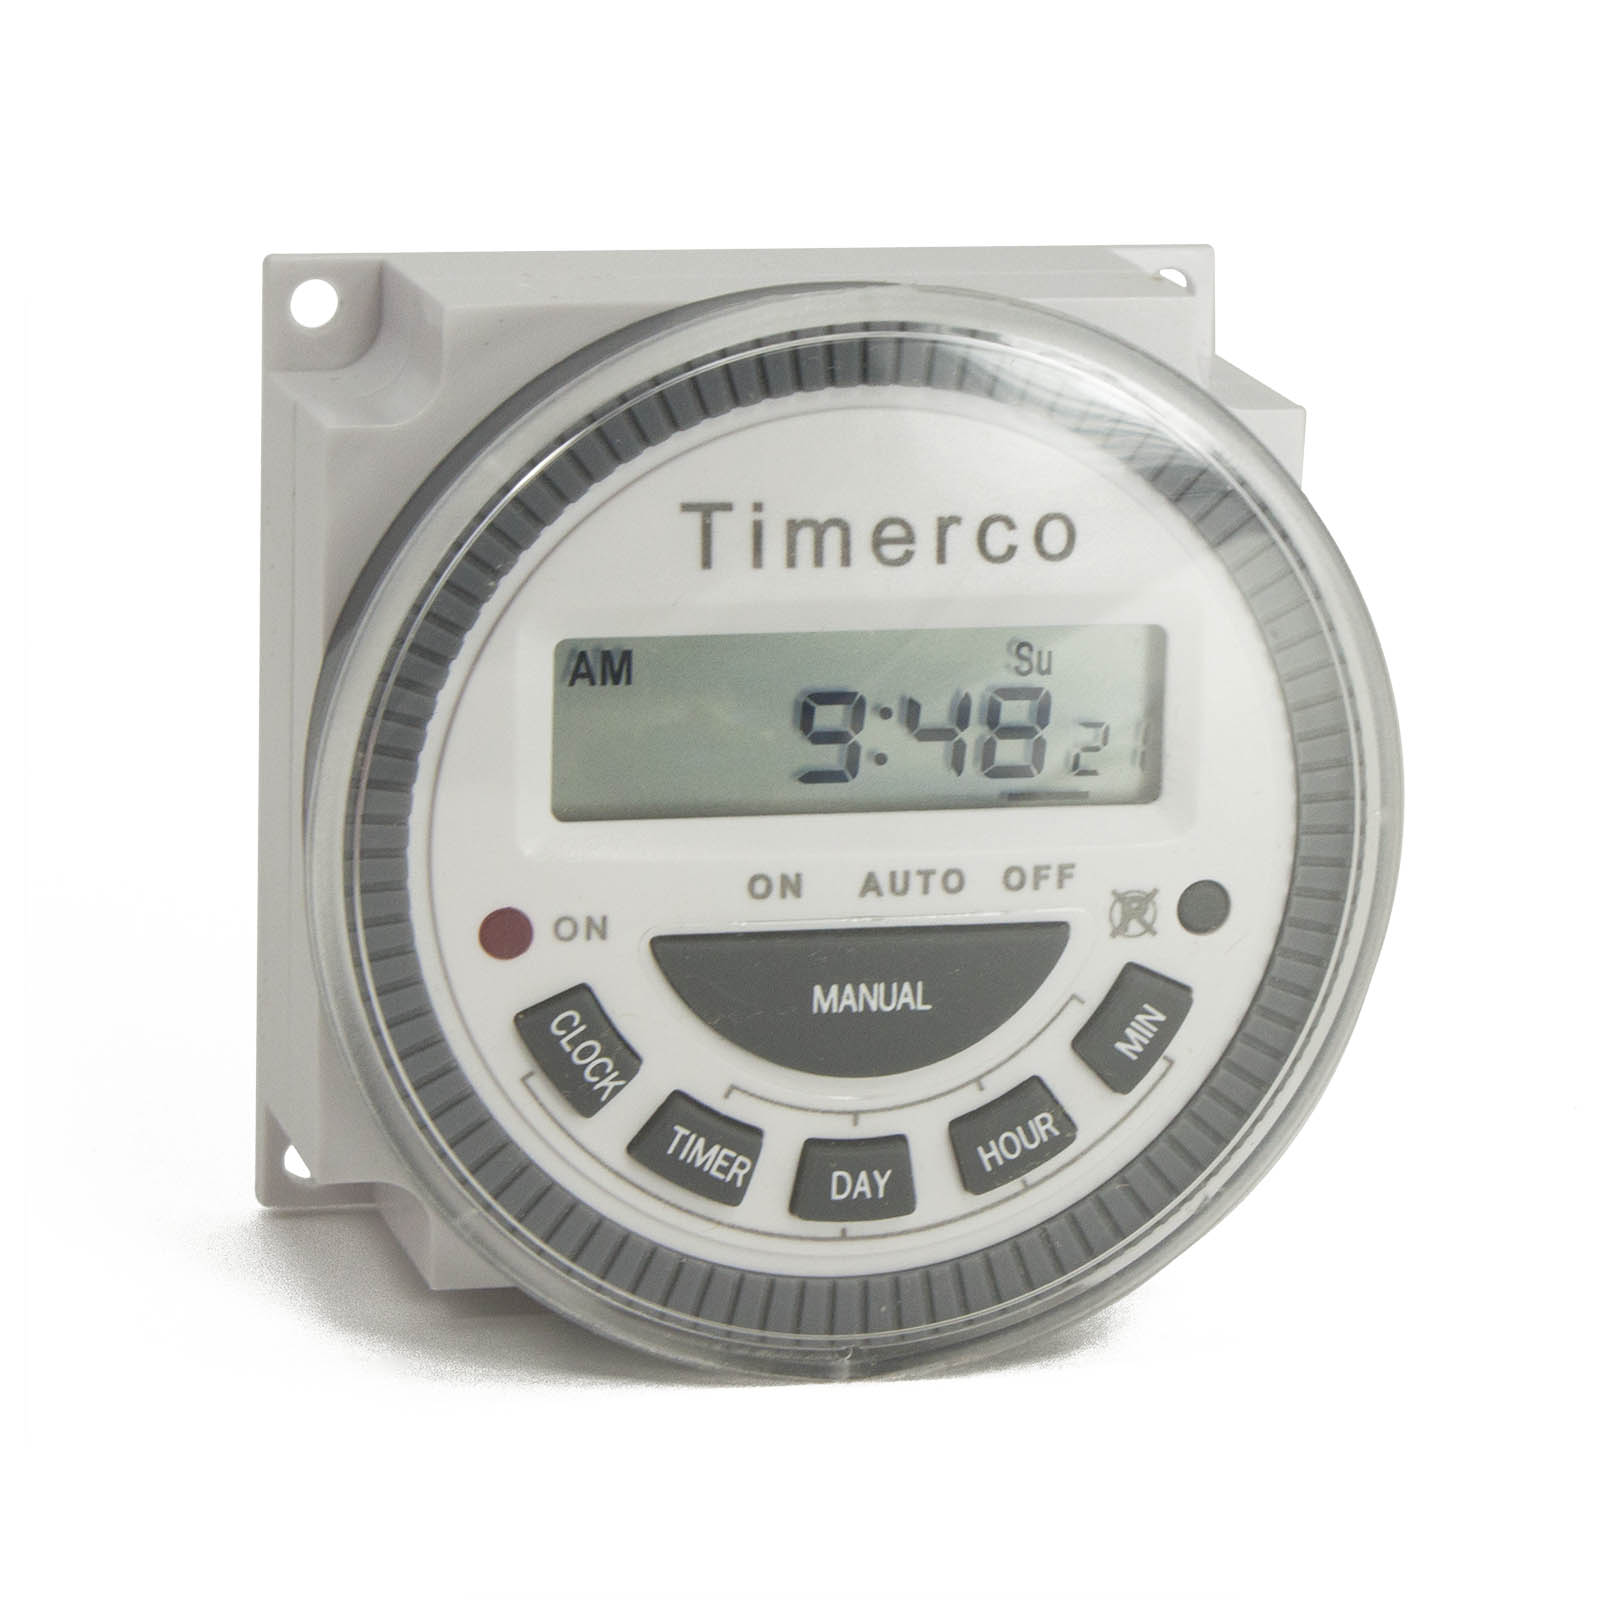
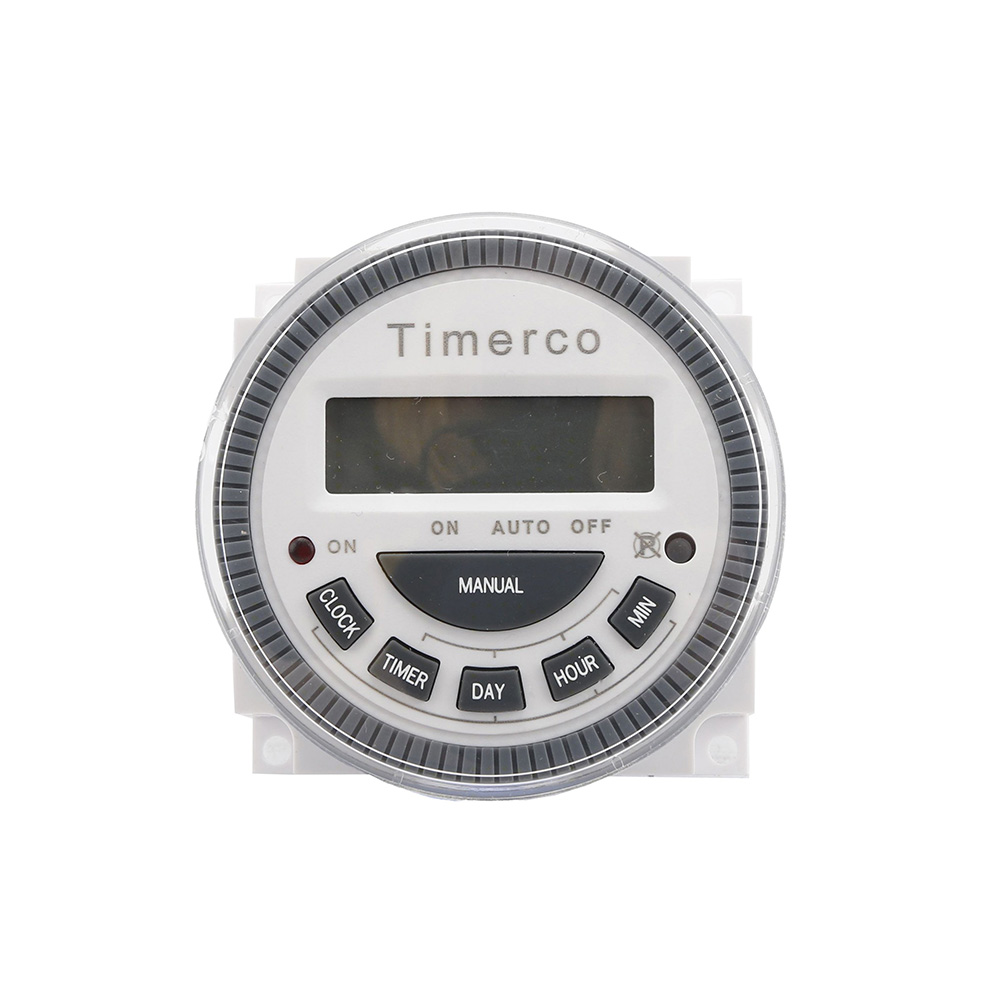
7-Day Timer Programming
The following list and image show what each button does or indicates. Read carefully.
- CLOCK: pressed and held to allow adjustment of current day and time with day and time buttons
- TIMER: to set up and review programmed events
- DAY: adjusts day of week
- HOUR: adjusts hour
- MIN: adjusts minutes
- MANUAL: used to select between modes
- ON mode: relay is active (LED on)
- AUTO mode: timer will follow user-specified programs
- OFF mode: relay inactive / no programs will be followed (LED off)
- P: resets timer settings
Setting the Time & Date
Press and hold the CLOCK button, then use the DAY, HOUR, & MIN buttons to set the time and date.
Programming Events
While programming, note that the timer will automatically exit programming mode after 20 seconds of inactivity.
- To program an event press TIMER. A box with [1 ON --:--] will appear on the screen. *If reprogramming, the box might already have time saved. Do not worry. You can and will overwrite this time during this process.*
- Press DAY until the desired daily program option is displayed on the screen. *This is where Figure 1: Programming Options will be helpful.
- Press HOUR and MIN to set the desired ON time.
- Press TIMER button again. A box with [1 ON --:--] will appear on the screen. Again, a time will appear if it was previously saved. Do not worry.
- Press HOUR and MIN to set the desired OFF time. *If an ON time is set, an OFF time must also be set.
- *To set more events, repeat the previous steps.
- Exit programming mode to save settings. Press CLOCK to exit.
- Activate the timer for automatic use by pressing MANUAL until indicator bar on LCD screen displays AUTO.
If you have further questions, please review the 7-Day Timer Manual and Specification Sheet. You may also reach out to our sales representatives. They are happy to help in any way they can!